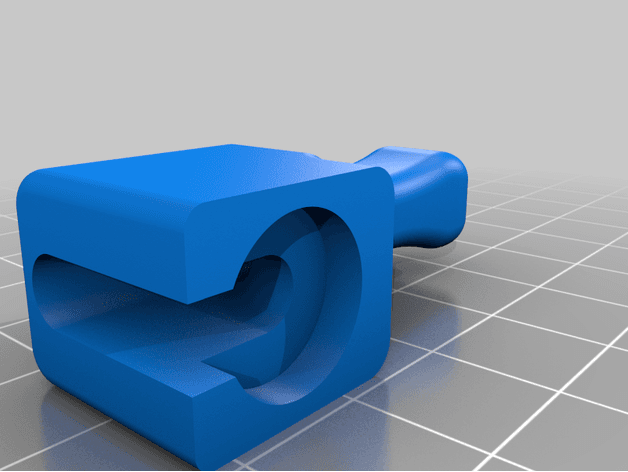
Mirror-Adjustment Handle
Two-piece handle and lock for the 5 mm manual driver-side mirror adjustment rod. The creator explicitly states W123, W124, W201 and W126 fitment. Use tough cabin material, check the rod diameter and locking engagement, and confirm full mirror travel without forcing the cable or mechanism.
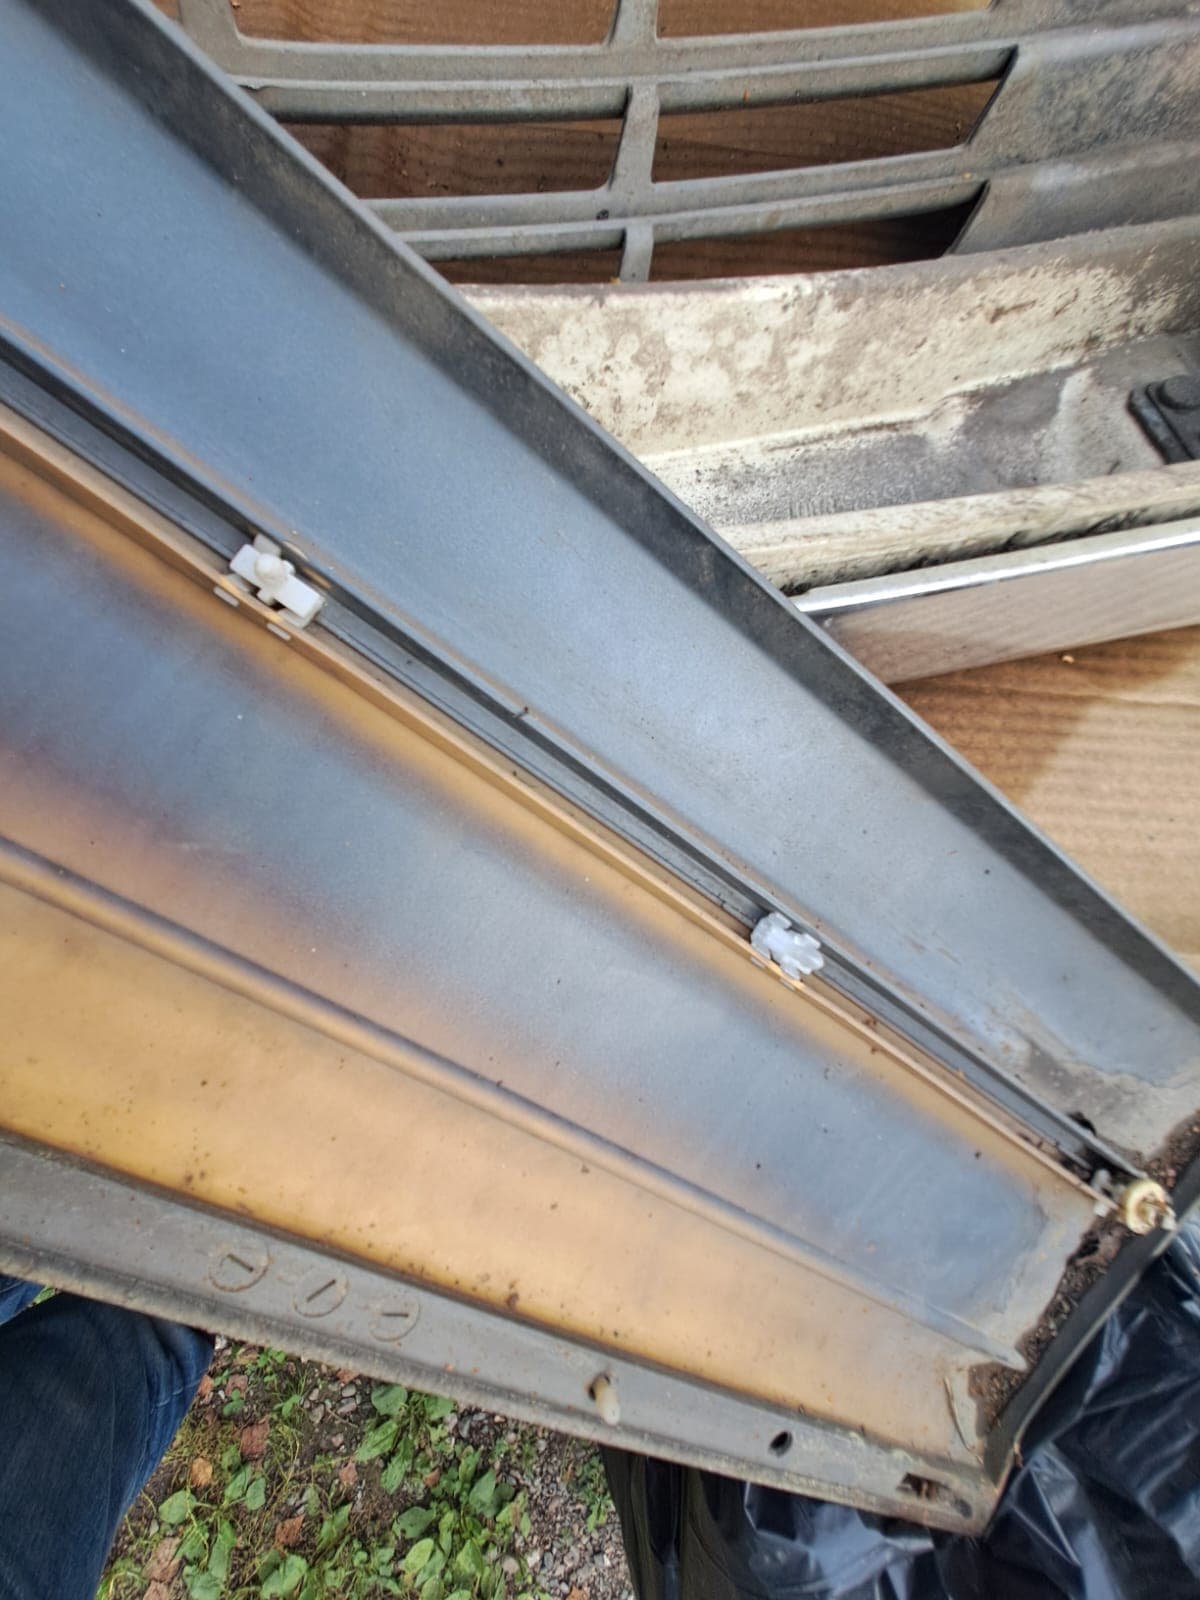
Side-Skirt Fastening Clip
One-to-one copy of an original 126-series side-skirt fastener, printed by the creator in PETG with 0.1 mm layers, organic supports and four perimeters. Source photographs show the loose clip beside the original and the relevant body-cladding locations. W126 cladding uses several position-specific fasteners, so compare the original clip before use, deburr contact edges and confirm the panel is retained without distortion.
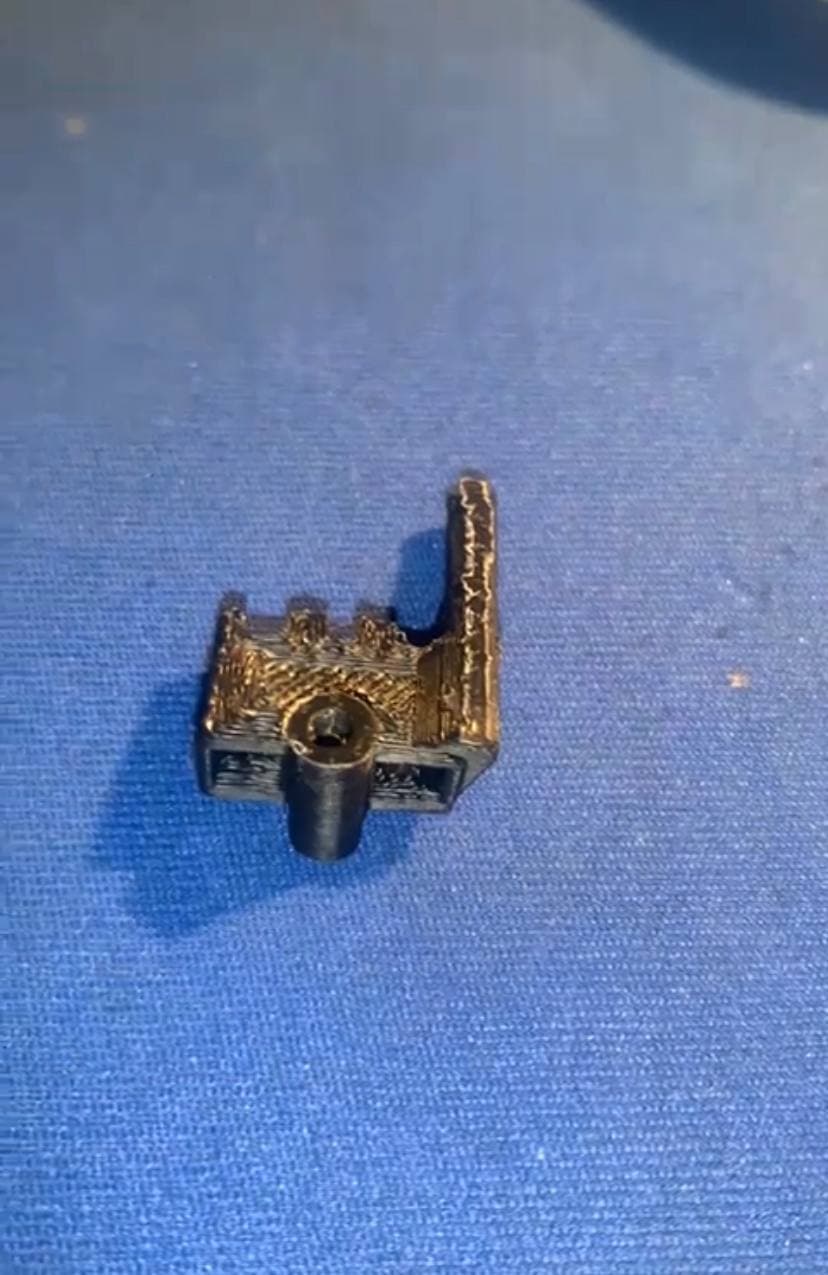
Power-Seat Switch Lever Set
Driver- and passenger-side replacement lever files for a 126-series electrical seat switch. The source identifies the function and fitment but provides only a photograph of the original child component, not a printed installation. Compare the switch version, shaft and lever direction exactly, use tough cabin-heat-resistant material, and verify every seat movement stops on release without a lever sticking or fouling the trim.
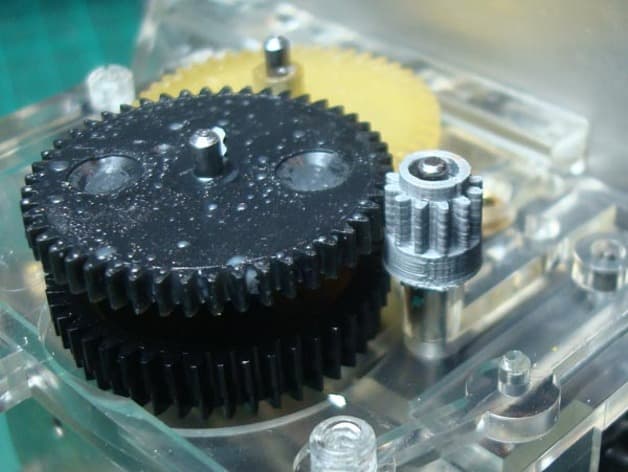
Instrument-Cluster 12-Tooth Pinion
Replacement 12-tooth drive pinion demonstrated in an Australian-compliance 1989 560 SEC instrument cluster. The creator printed, fitted and updated the gear profile after road use, and reports continued odometer operation. Fitment is restricted to a matching 12-tooth cluster; do not assume every 126-series speedometer uses it. Support the rotor shaft during press-fitting, preserve end float, have any desoldering performed competently, and verify accurate speed and distance readings before road use.
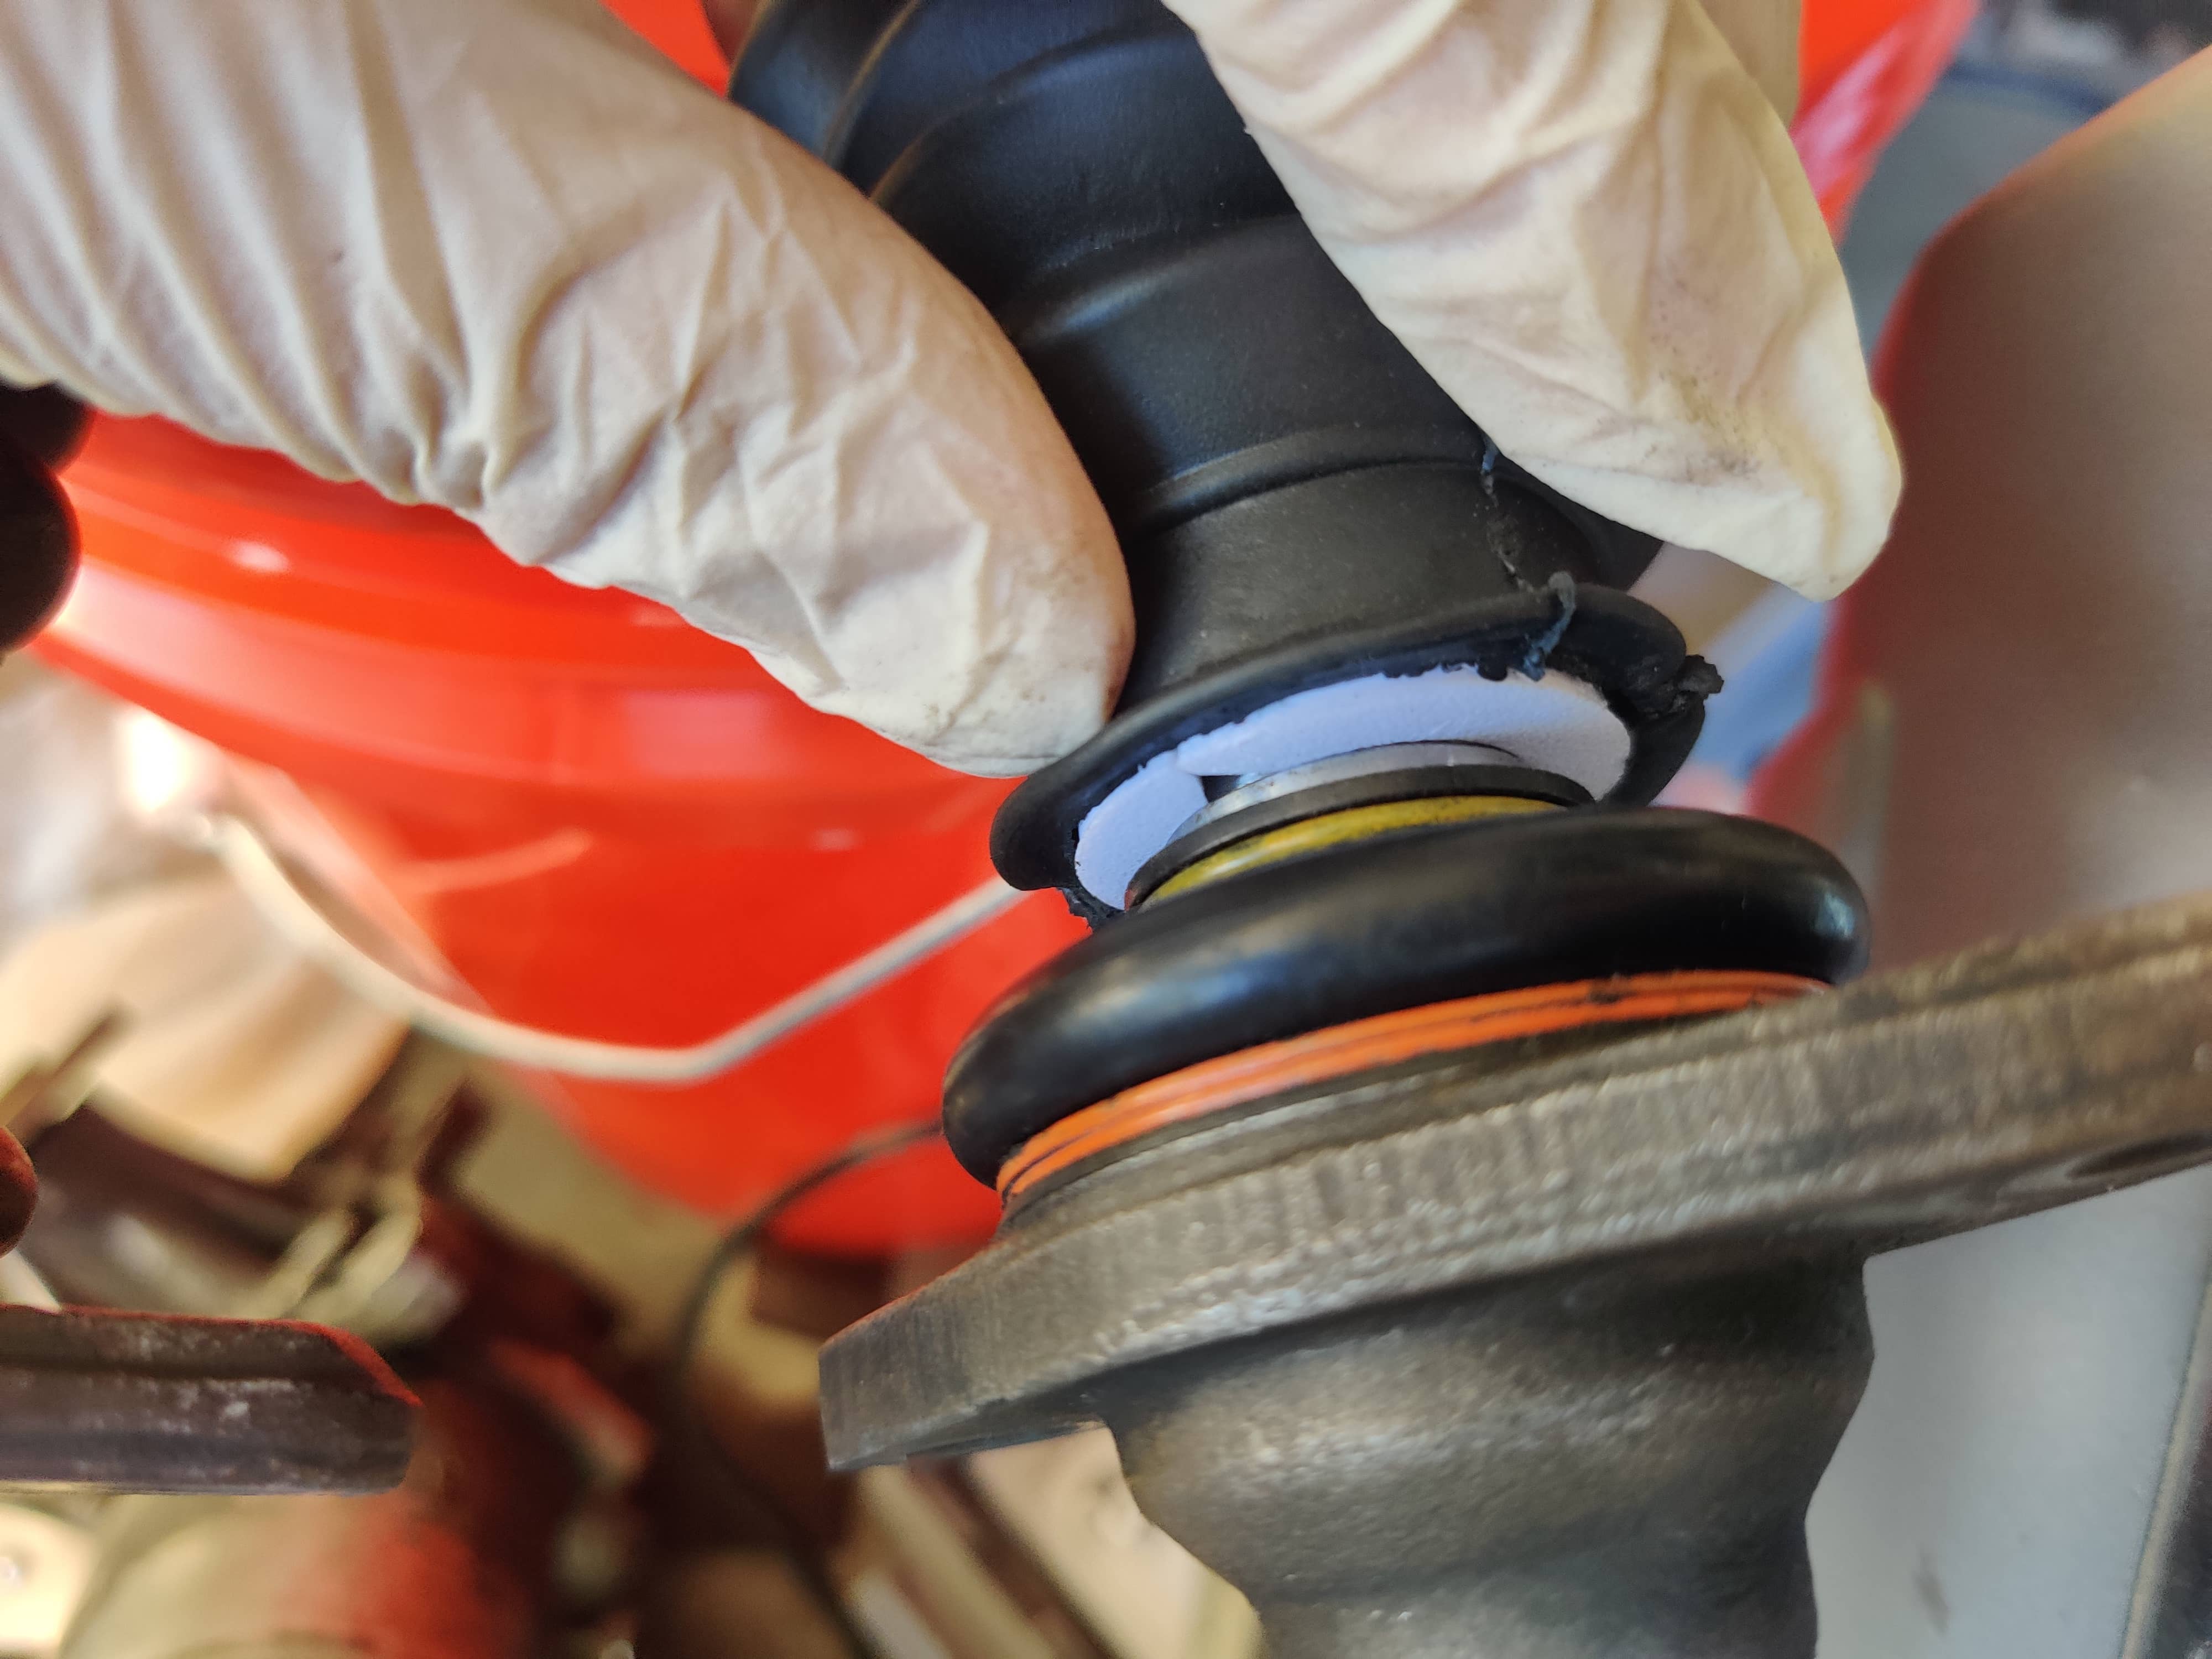
SLS Strut-Boot Spacer Ring
Spacer ring developed to retain a near-match replacement dust boot on a 126-series rear self-leveling-suspension hydraulic strut when the original boot is unavailable. Source photographs show the physical ring and boot installation. This is a protective-boot adapter only, not a suspension load path. Match the replacement boot and strut dimensions, use oil-, weather- and fatigue-resistant material, and inspect hydraulic lines, clearance, leaks and boot retention before returning the car to service.
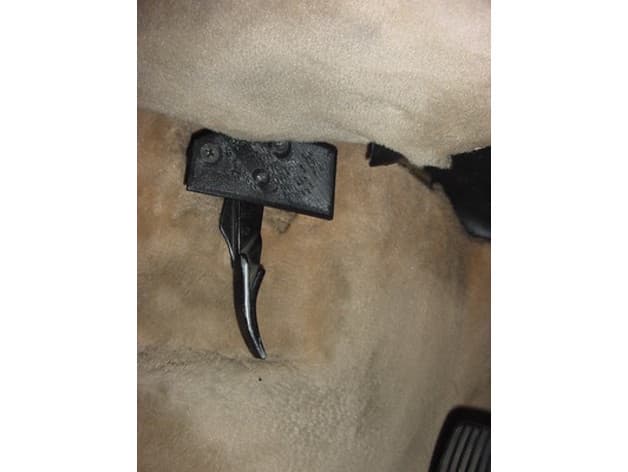
Bonnet-Release Lever Trim Panel
Replacement plastic trim panel surrounding the bonnet-release lever on a 300SD. Only the creator's revised R2 file is included; it raises the screw bosses and shortens the shoulders after the first version did not sit flat. The creator explicitly says it does not fit a 123-series car. Use heat-resistant material, retain the original fasteners, and confirm the panel sits flat without restricting full release-lever travel or bonnet-latch operation.
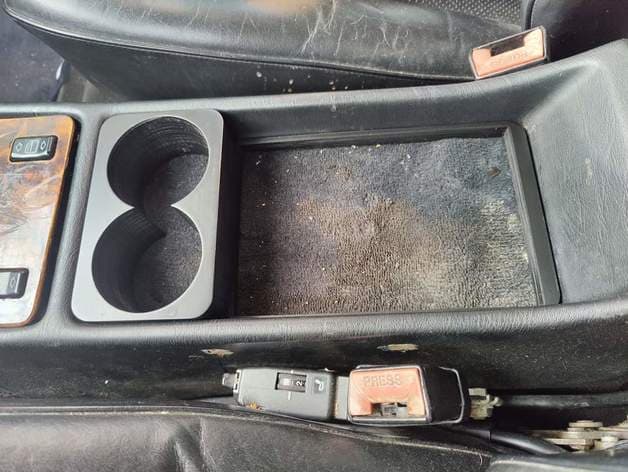
Roll-Top Console Cup Holder
Two-place cup holder shaped for the 126-series centre console and shown installed over the roll-top compartment in the creator's source photographs. The creator printed it in PLA at 20% infill, sanded it and painted it; the preserved STL is non-watertight in an independent mesh audit, so inspect and repair the sliced geometry and choose cabin-heat-resistant material for vehicle use. Secure the holder without damaging trim or wiring, keep containers clear of the selector and controls, and confirm it cannot become a loose object under braking.
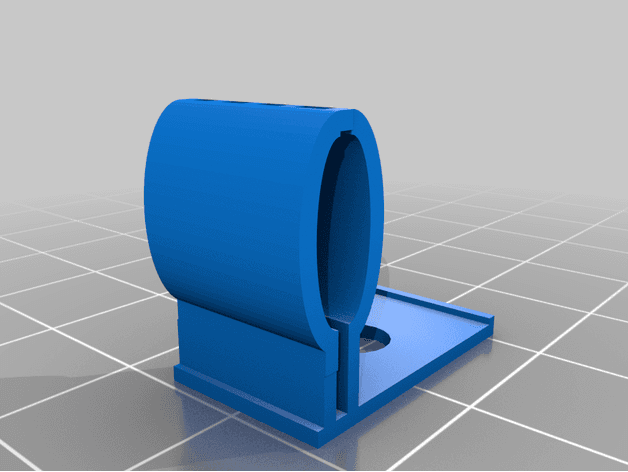
Tow-Eye Cover Retaining Clip
Replacement trim clip for the towing-eye cover on a 126-series car. The preserved author archive supplies the model, licence and exact fitment, while the only source image is a CAD render and no physical make is shown. Compare the original clip and cover position, use UV- and weather-resistant material, and confirm the cover cannot loosen into traffic.
Centre-Console Roll-Top Closure Guide
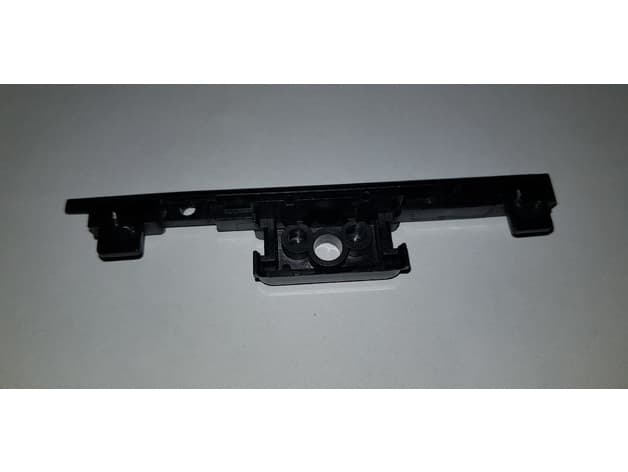
Replacement closure/side-guide piece for a centre console with a wooden roll-top. The creator copied the original for a 560 SEL, reports that the final file is installed and working, and also labels the application C126; because that body-code wording conflicts with the 560 SEL model name, compare the console and original guide rather than assuming every saloon or coupé uses it. Use heat-resistant material and confirm smooth roll-top travel without stressing the wood or adjacent switches.
Seat-Adjustment Lever Set
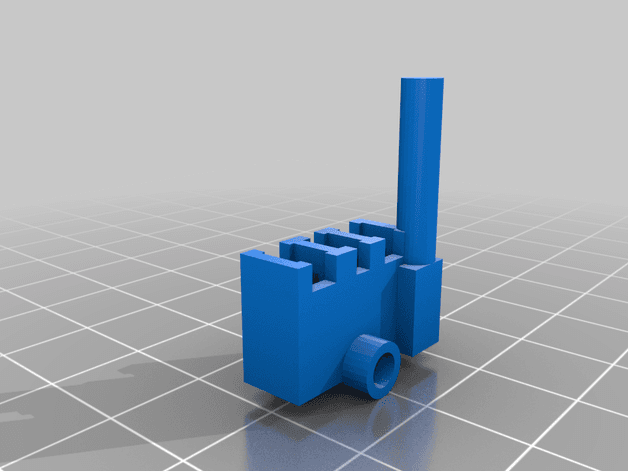
Two replacement seat-adjustment levers for the opposite seat sides on 126-series interiors. The creator printed both successfully in ABS and emphasizes that the documented print orientation is important for strength. One preserved STL is non-watertight in an independent mesh audit, so inspect and repair the sliced geometry before printing. Compare the shaft and lever direction before choosing a side, use tough cabin-heat-resistant material, and confirm the seat locks and moves through its full range without binding.
Sunroof-Motor Clutch Stop
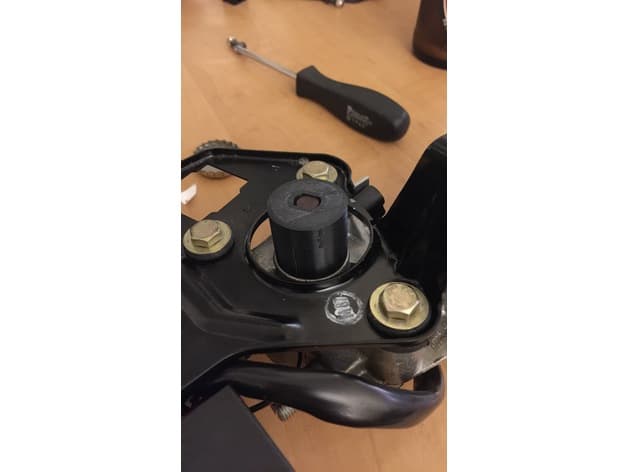
Replacement stop for the sunroof-motor clutch adjustment on a 126-series car. The creator designed it after the missing part allowed the roof to drift out of adjustment and states that the part should work directly from the printer. Use cabin-heat-resistant material, compare the original drive version, set the clutch and travel according to service instructions, and verify complete opening, closing and manual emergency operation without binding.
Door-Striker Rubber Buffer
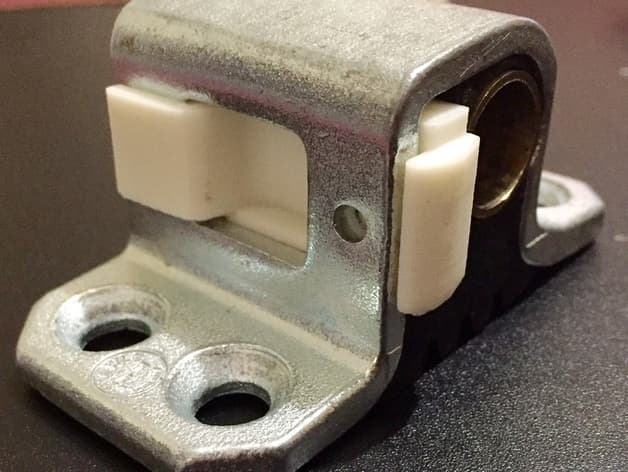
Replacement rubber buffer insert for a door striker, explicitly designed for the 126-series. The printable is only the sacrificial insert, not the metal striker or latch assembly. The creator specifies printing on its side with build-plate-only support and 100% infill. Use durable flexible material, compare the original insert and striker geometry, and confirm both primary and secondary door-latch engagement before driving.
Sun-Visor Retaining Clip
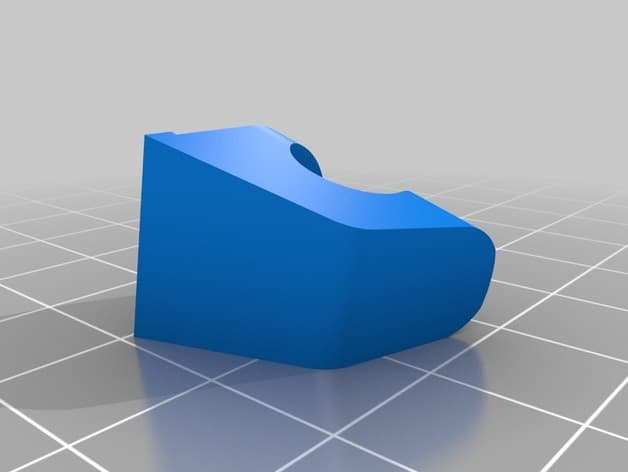
Two-piece retaining clip and screw cover for the cabin sun visor. The creator made it for a 1989 300E and explicitly states W123, W124, W126, W140 and W201 fitment, while noting that it does not carry electrical contacts for illuminated vanity mirrors. Print the main clip and locking cover in the documented orientations, use cabin-heat-resistant material, compare the screw position and visor profile, and confirm secure retention and free release before driving.
End of the racks · 13 entries