Mercedes-Benz S-Class 3D-printable parts
Browse free 3D-printable replacement parts and accessories for the Mercedes-Benz S-Class, covering W116, W126 / C126, W140 / C140, W220 and W221 and 2 more. Preview models and download STL files.
Find the correct S-Class generation
Choose the matching S-Class generation and confirm its model years before downloading. Then use the individual part's assigned vehicles, description, dimensions, photographs and OEM references to assess compatibility.
What each part record includes
The S-Class catalog separates files by exact generation. Each part record brings together its STL files, compatible vehicles, recommended materials, dimensions, category and source attribution.
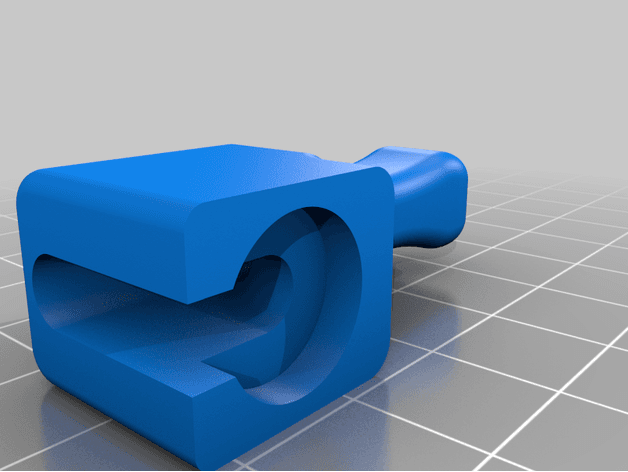
Mirror-Adjustment Handle
Two-piece handle and lock for the 5 mm manual driver-side mirror adjustment rod. The creator explicitly states W123, W124, W201 and W126 fitment. Use tough cabin material, check the rod diameter and locking engagement, and confirm full mirror travel without forcing the cable or mechanism.
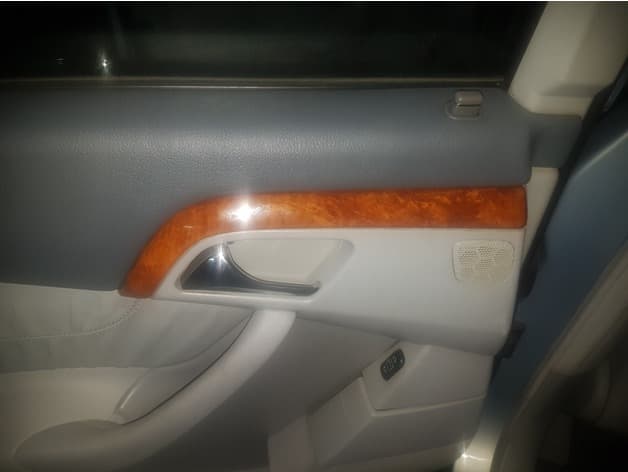
Door Wood-Trim Retaining Clip
Replacement retaining clip for the interior door wood trim. The creator identifies exact 220-series fitment, recommends flexible FilaFlex material, and the preserved source photographs show the loose printed clip, the wood trim installed and the door with the trim removed. The creator does not provide a molded Mercedes number. EPC evidence lists several position-specific clips and clamps around W220 door and pillar panelling, but does not establish which exact serviced child this geometry reproduces, so no OEM number is assigned. Compare the original clip, door position, trim profile and production/option version, fit without forcing the veneer, and confirm the wood trim is fully retained without rattles or interference.
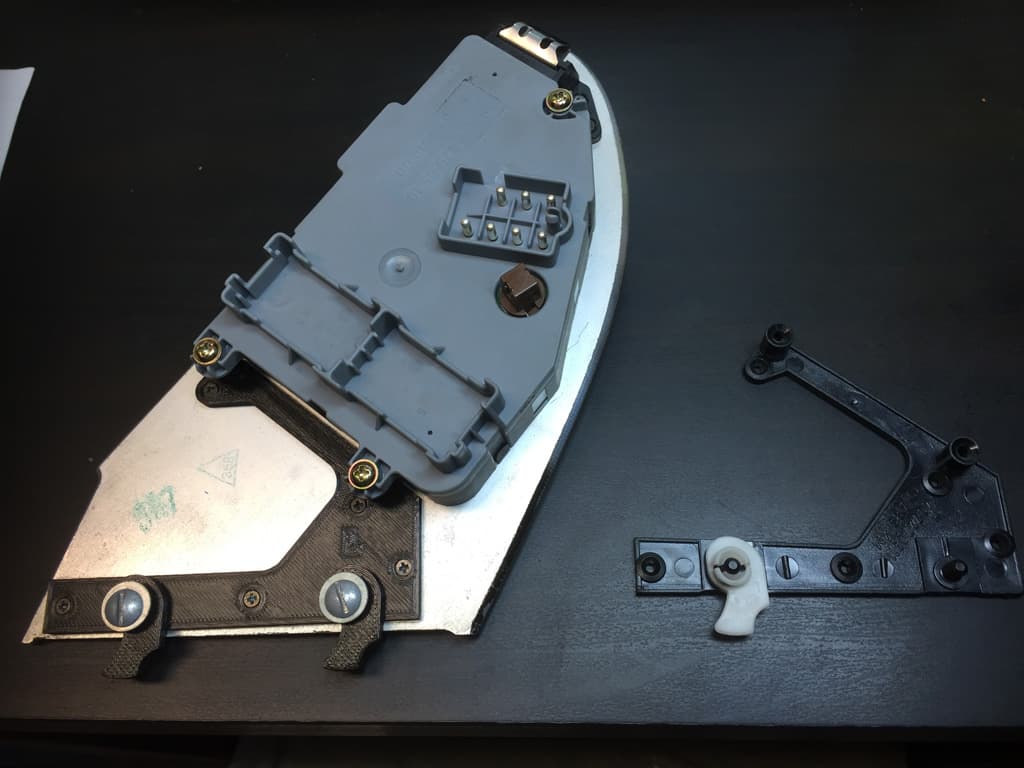
Power-Seat Switch Panel Retainer Set
Four-piece left/right replacement retainer set for the power-seat switch panels, explicitly designed as a direct replacement for a 1990s S420. The source photographs show the physical panel assemblies and installed retainers. Independent mesh inspection found three of the four preserved STLs non-watertight, so repair and validate the sliced geometry before printing. Compare side and switch-panel version before use, print in a tough cabin-heat-resistant material, retain the original fasteners, and verify that the panel is secure without restricting any seat control or trapping wiring.
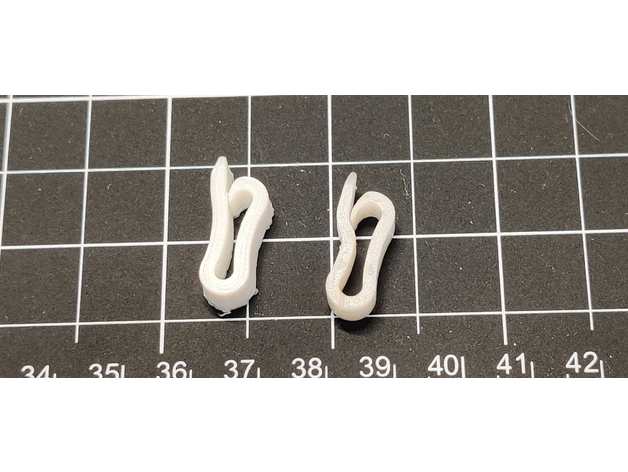
Seat-Cushion Upholstery Clip
Replacement clip joining seat upholstery to the internal metal rod. The creator explicitly states use on W123, W140 and R129 seats and recommends ABS rather than PLA. Compare the original clip and seat construction, use a tough heat-resistant material, round and clean every contact edge and confirm the upholstery is retained without cutting the fabric or affecting seat adjustment. Source-stated numbers 1239884078 and 1409883778 were not assigned because an independent exact EPC child-component mapping was not recoverable in this run.
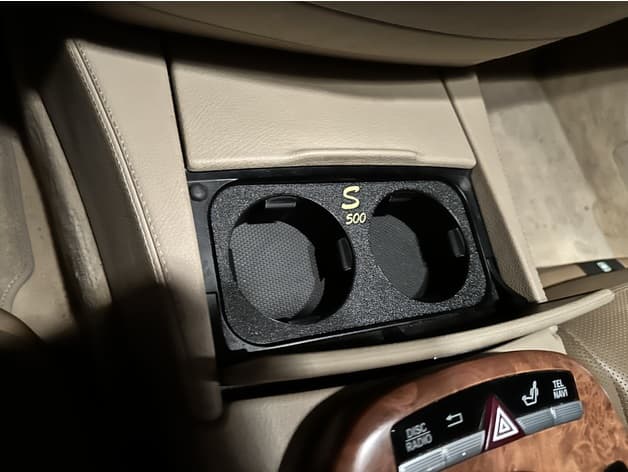
Center-Console Dual Cup Holder
Custom dual cup holder designed by the creator for the 221-series S-Class and shown both loose and installed in the center console. The supplied single STL includes an S500 emblem and the creator notes that it can be printed in one color or with a multi-material system. The source does not state model year, wheelbase, facelift, steering side, console option, container diameter, material, print settings, or retention testing, so compare the console opening and surrounding controls before printing. Use cabin-heat-resistant material, protect the original trim, keep containers clear of the selector and switches, and verify that the holder and only cold, closed containers remain secure under braking before road use.
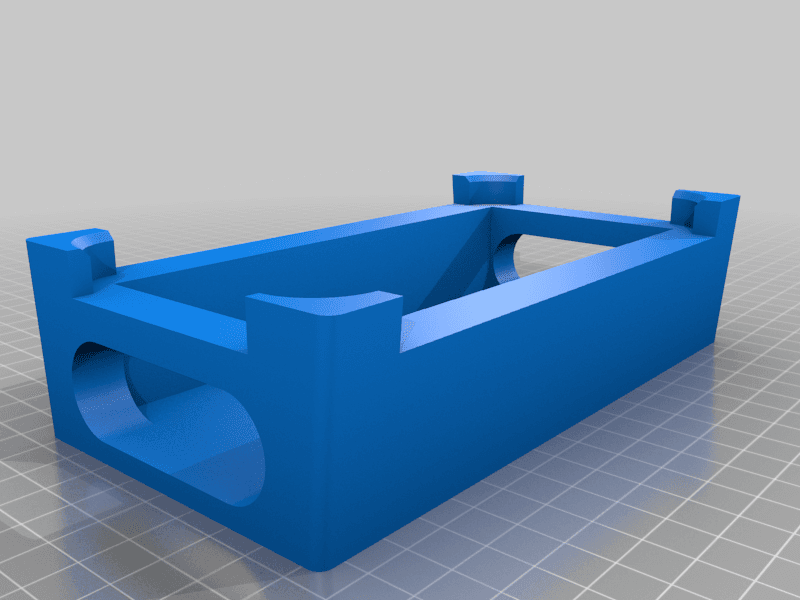
Center-Console Phone and Power-Bank Holder
Custom center-console holder designed by the creator for an S500 of this generation. The source states that it fits a Huawei P20 Pro with a case and provides openings for an Anker PowerCore 20100 mAh power bank; only a CAD source image is available. The source does not identify model year, wheelbase, facelift, steering side or console option, so compare the console opening and device dimensions before printing. Use cabin-heat-resistant material, protect trim and charging cables, and secure the holder and devices so they cannot obstruct controls, airbags or sight lines or become loose under braking.
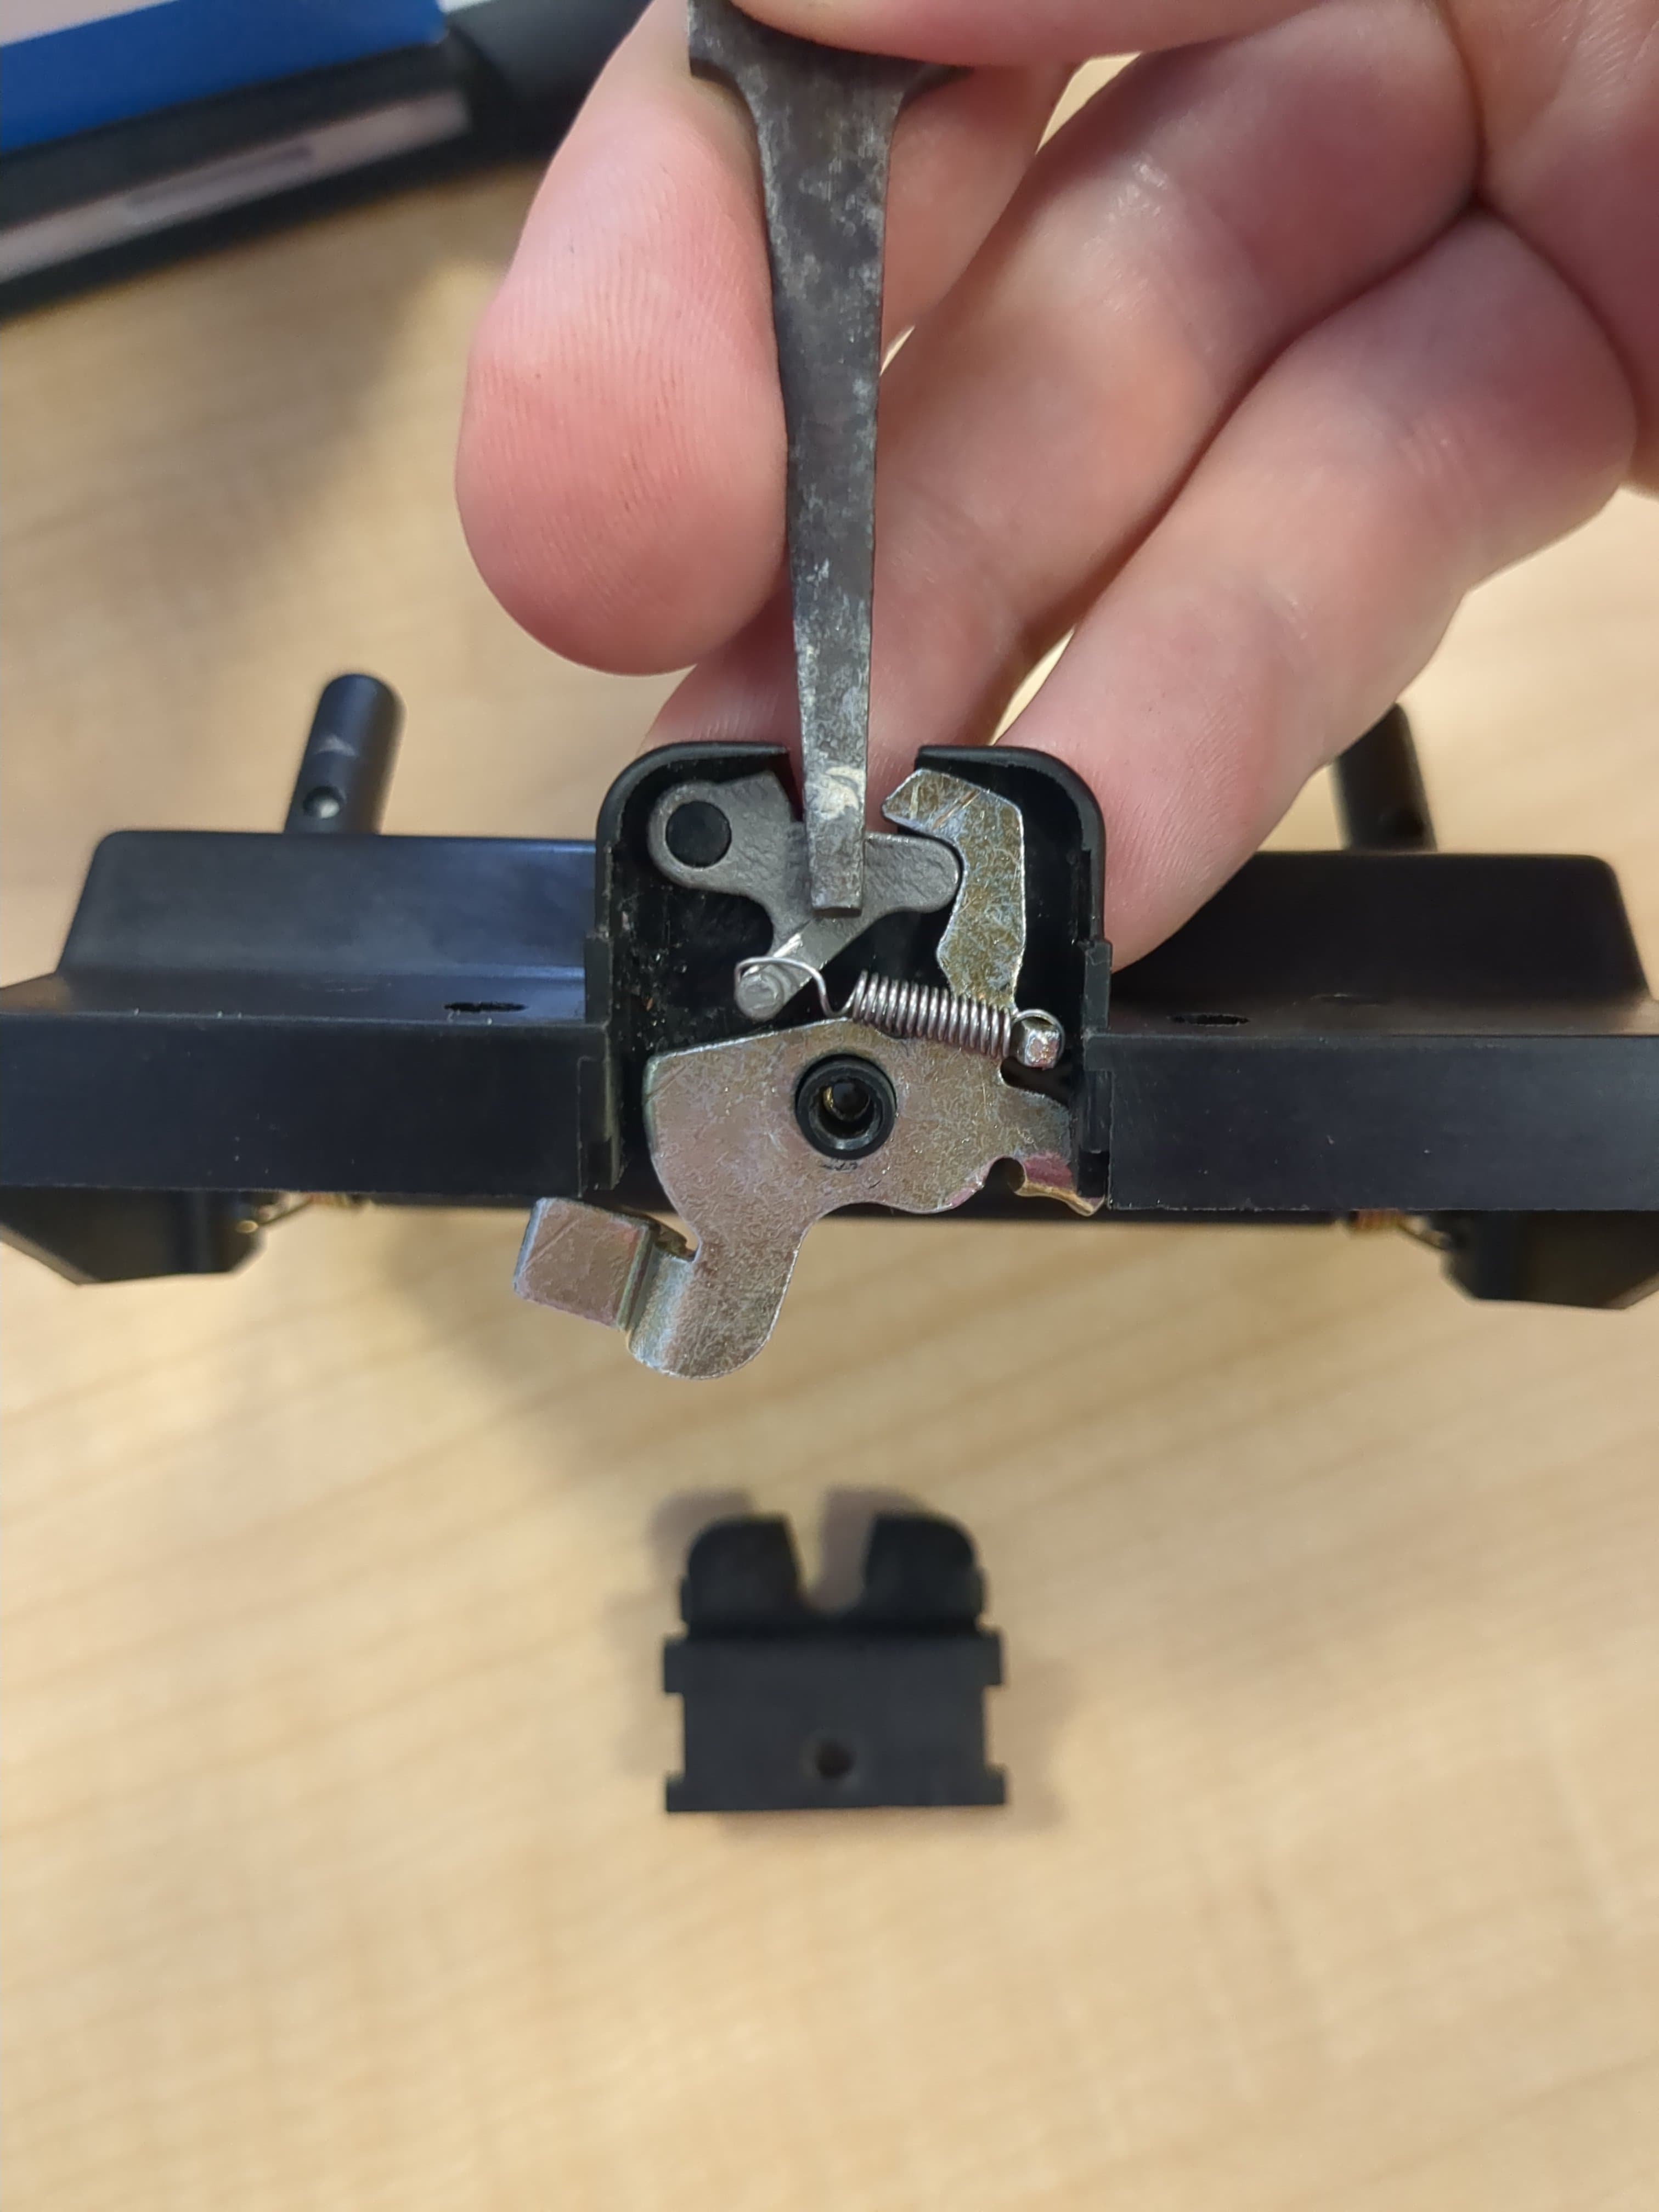
Center-Armrest and Glove-Box Latch Piece
Original-style and gusset-reinforced replacement variants for the sprung latch inside the center-armrest storage cubby, with creator-stated fitment for 1992–1999 vehicles. The creator also states that mirroring the geometry makes it work for the glove-box latch in the same generation. The source photograph shows the physical latch mechanism and child piece. Independent inspection found the gusseted STL non-watertight, so repair and validate that mesh before slicing. The author reports that commissioned ABS versions lasted about 18 months despite embedded steel wire and changed to SLM 316L stainless steel for expected long-term durability. If printing in polymer, use a tough cabin-heat-resistant material, keep a spare, and verify reliable spring engagement and positive latching before use. Work over a clean surface to avoid losing the original spring; a replacement spring may require a carefully filed groove in the post.
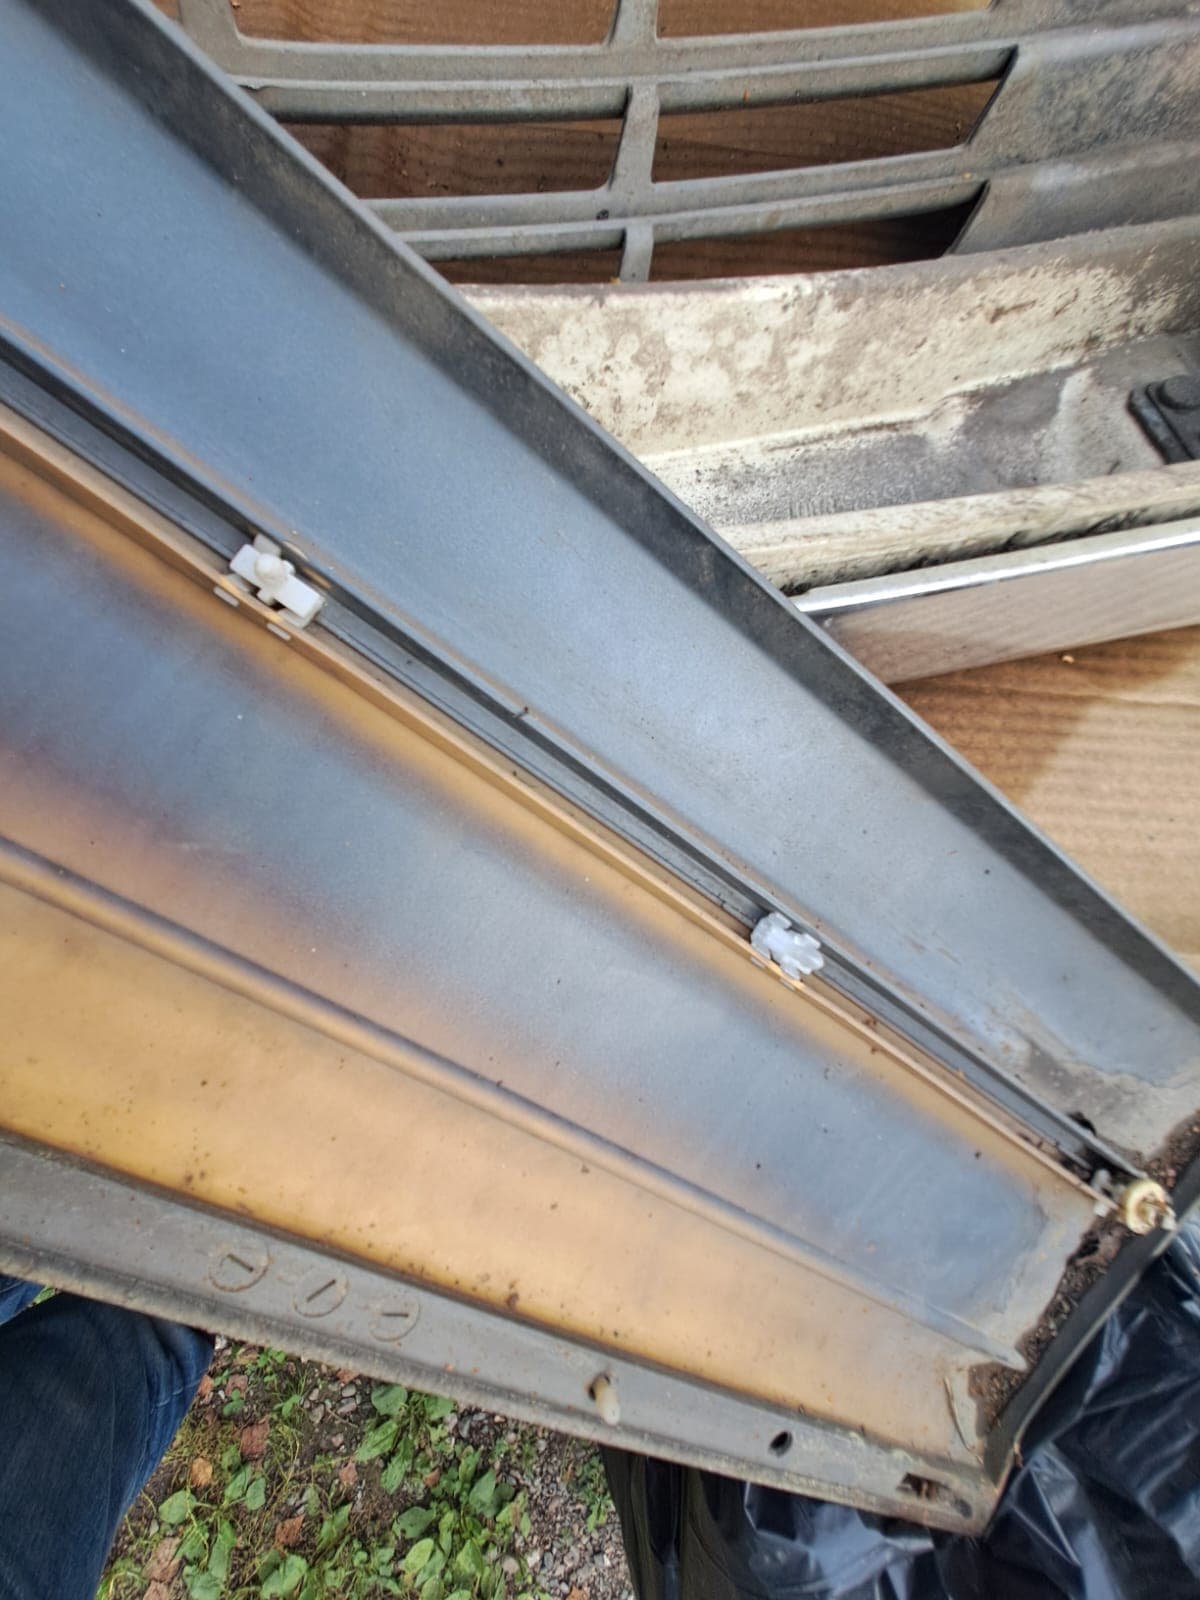
Side-Skirt Fastening Clip
One-to-one copy of an original 126-series side-skirt fastener, printed by the creator in PETG with 0.1 mm layers, organic supports and four perimeters. Source photographs show the loose clip beside the original and the relevant body-cladding locations. W126 cladding uses several position-specific fasteners, so compare the original clip before use, deburr contact edges and confirm the panel is retained without distortion.
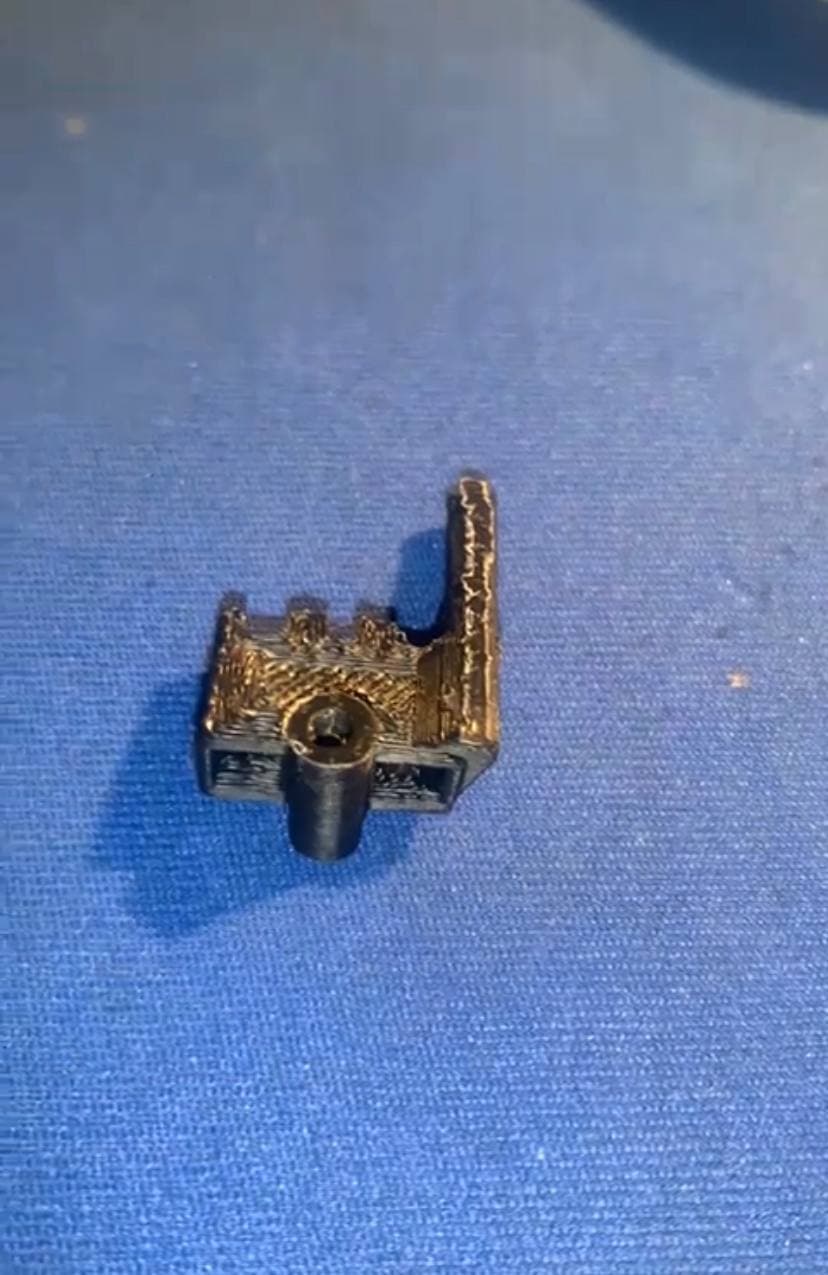
Power-Seat Switch Lever Set
Driver- and passenger-side replacement lever files for a 126-series electrical seat switch. The source identifies the function and fitment but provides only a photograph of the original child component, not a printed installation. Compare the switch version, shaft and lever direction exactly, use tough cabin-heat-resistant material, and verify every seat movement stops on release without a lever sticking or fouling the trim.
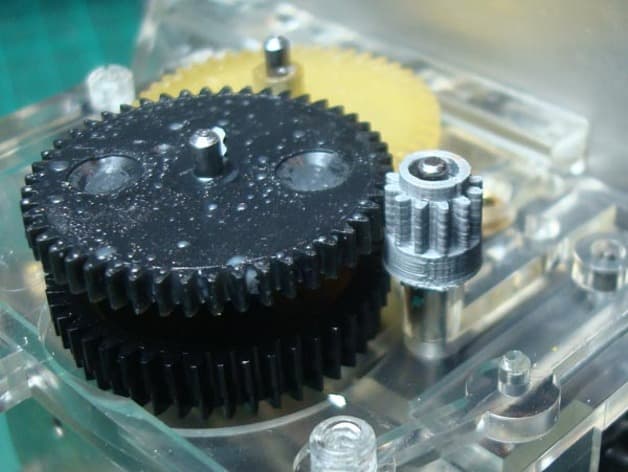
Instrument-Cluster 12-Tooth Pinion
Replacement 12-tooth drive pinion demonstrated in an Australian-compliance 1989 560 SEC instrument cluster. The creator printed, fitted and updated the gear profile after road use, and reports continued odometer operation. Fitment is restricted to a matching 12-tooth cluster; do not assume every 126-series speedometer uses it. Support the rotor shaft during press-fitting, preserve end float, have any desoldering performed competently, and verify accurate speed and distance readings before road use.
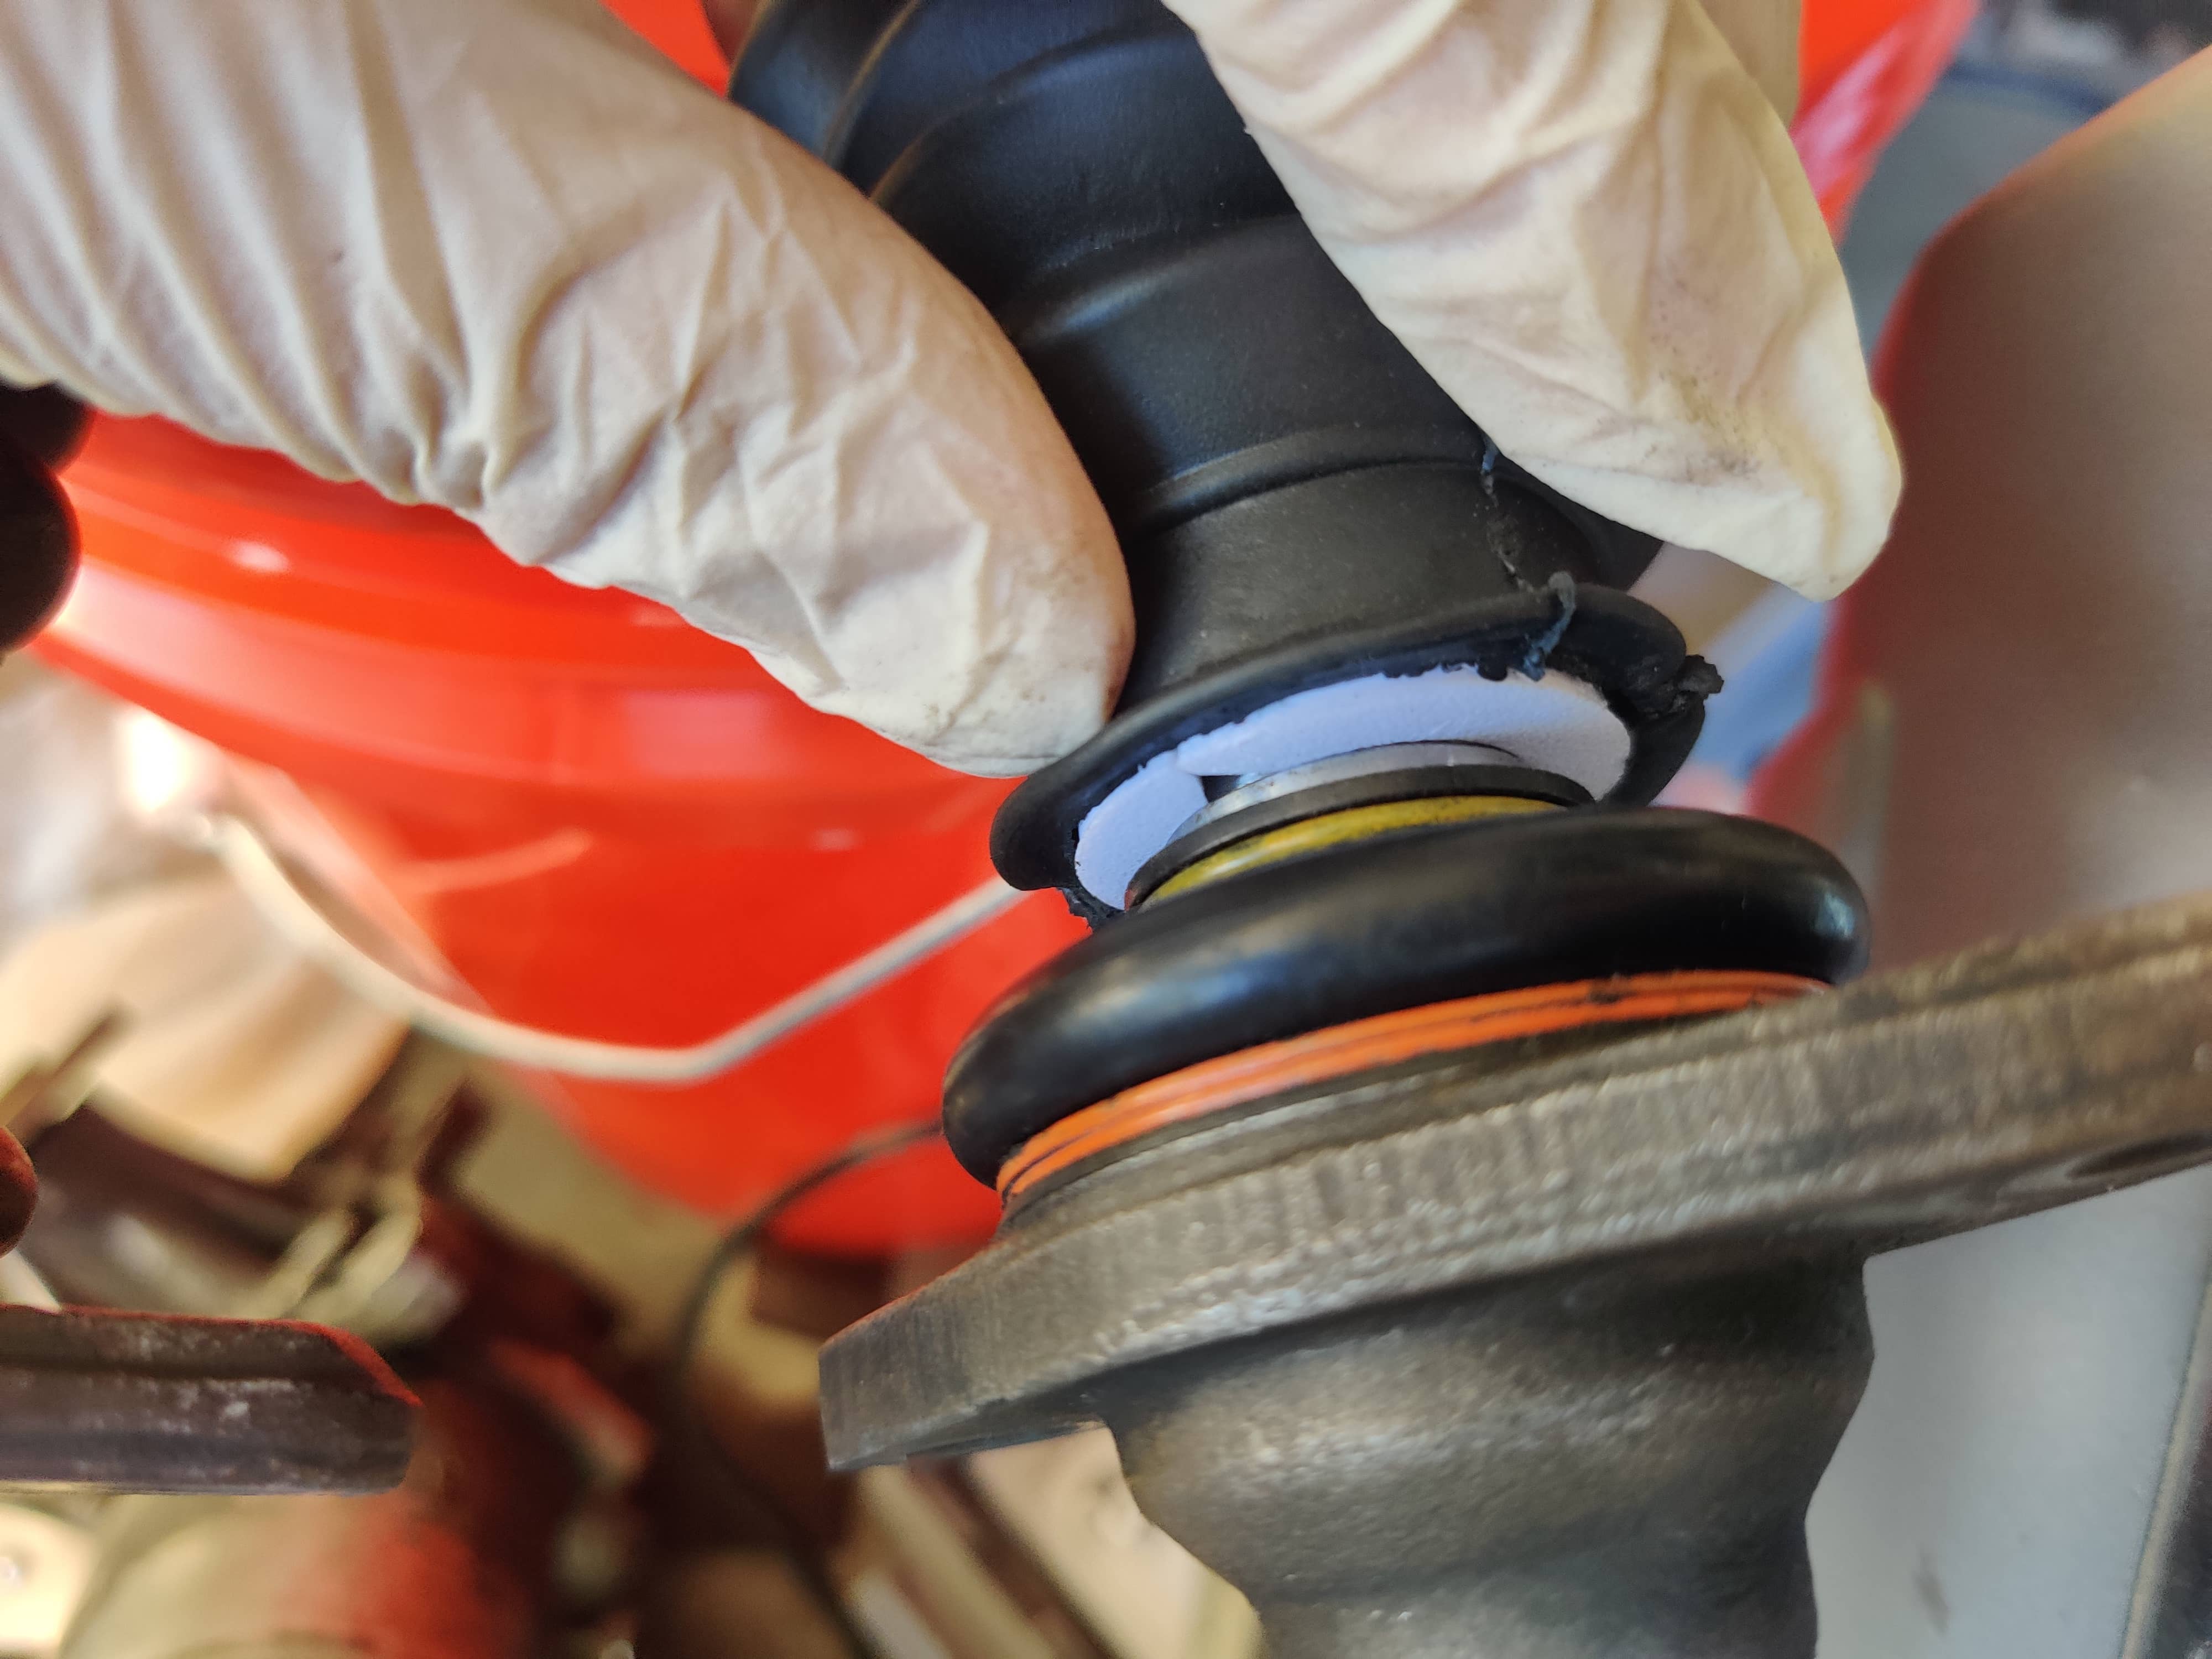
SLS Strut-Boot Spacer Ring
Spacer ring developed to retain a near-match replacement dust boot on a 126-series rear self-leveling-suspension hydraulic strut when the original boot is unavailable. Source photographs show the physical ring and boot installation. This is a protective-boot adapter only, not a suspension load path. Match the replacement boot and strut dimensions, use oil-, weather- and fatigue-resistant material, and inspect hydraulic lines, clearance, leaks and boot retention before returning the car to service.
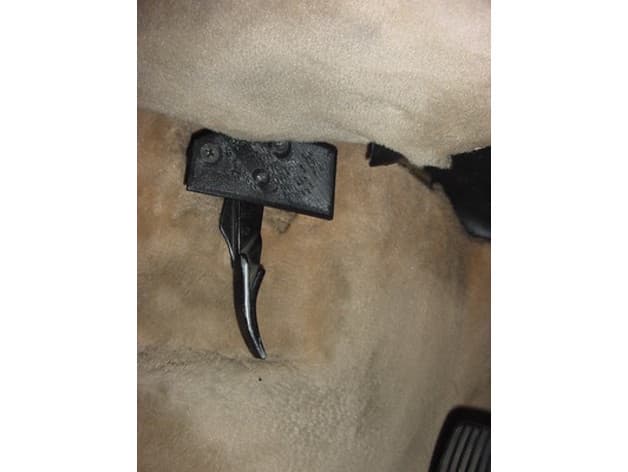
Bonnet-Release Lever Trim Panel
Replacement plastic trim panel surrounding the bonnet-release lever on a 300SD. Only the creator's revised R2 file is included; it raises the screw bosses and shortens the shoulders after the first version did not sit flat. The creator explicitly says it does not fit a 123-series car. Use heat-resistant material, retain the original fasteners, and confirm the panel sits flat without restricting full release-lever travel or bonnet-latch operation.
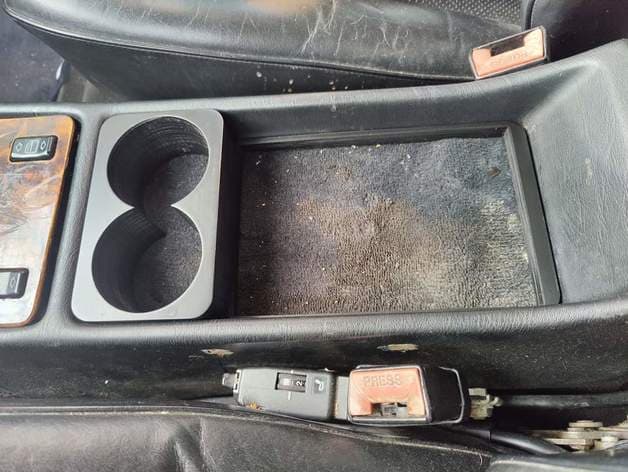
Roll-Top Console Cup Holder
Two-place cup holder shaped for the 126-series centre console and shown installed over the roll-top compartment in the creator's source photographs. The creator printed it in PLA at 20% infill, sanded it and painted it; the preserved STL is non-watertight in an independent mesh audit, so inspect and repair the sliced geometry and choose cabin-heat-resistant material for vehicle use. Secure the holder without damaging trim or wiring, keep containers clear of the selector and controls, and confirm it cannot become a loose object under braking.
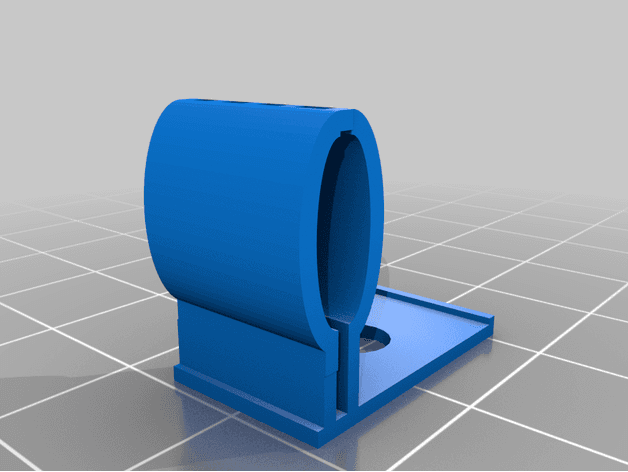
Tow-Eye Cover Retaining Clip
Replacement trim clip for the towing-eye cover on a 126-series car. The preserved author archive supplies the model, licence and exact fitment, while the only source image is a CAD render and no physical make is shown. Compare the original clip and cover position, use UV- and weather-resistant material, and confirm the cover cannot loosen into traffic.
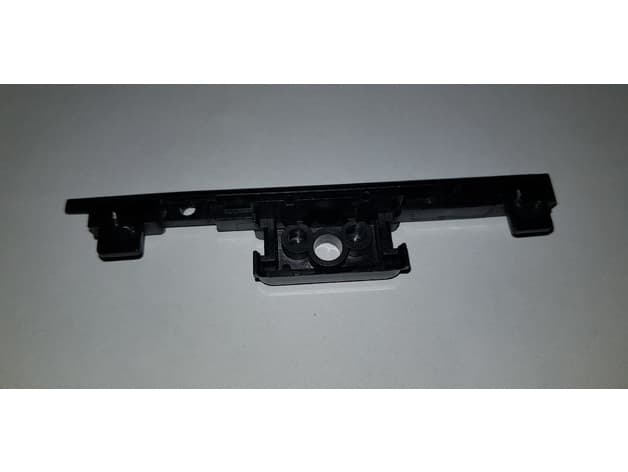
Centre-Console Roll-Top Closure Guide
Replacement closure/side-guide piece for a centre console with a wooden roll-top. The creator copied the original for a 560 SEL, reports that the final file is installed and working, and also labels the application C126; because that body-code wording conflicts with the 560 SEL model name, compare the console and original guide rather than assuming every saloon or coupé uses it. Use heat-resistant material and confirm smooth roll-top travel without stressing the wood or adjacent switches.
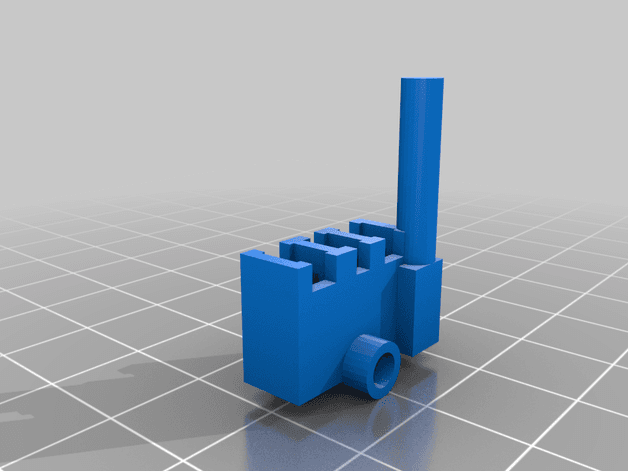
Seat-Adjustment Lever Set
Two replacement seat-adjustment levers for the opposite seat sides on 126-series interiors. The creator printed both successfully in ABS and emphasizes that the documented print orientation is important for strength. One preserved STL is non-watertight in an independent mesh audit, so inspect and repair the sliced geometry before printing. Compare the shaft and lever direction before choosing a side, use tough cabin-heat-resistant material, and confirm the seat locks and moves through its full range without binding.
Sunroof-Motor Clutch Stop
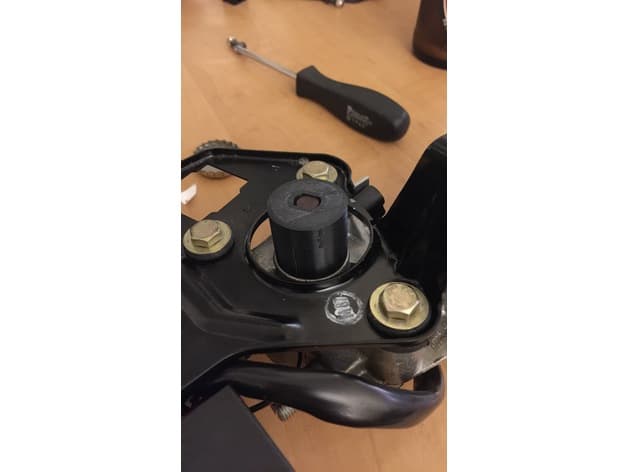
Replacement stop for the sunroof-motor clutch adjustment on a 126-series car. The creator designed it after the missing part allowed the roof to drift out of adjustment and states that the part should work directly from the printer. Use cabin-heat-resistant material, compare the original drive version, set the clutch and travel according to service instructions, and verify complete opening, closing and manual emergency operation without binding.
Door-Striker Rubber Buffer
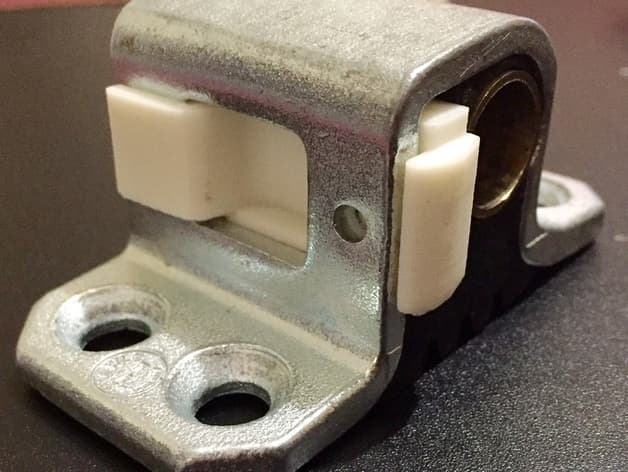
Replacement rubber buffer insert for a door striker, explicitly designed for the 126-series. The printable is only the sacrificial insert, not the metal striker or latch assembly. The creator specifies printing on its side with build-plate-only support and 100% infill. Use durable flexible material, compare the original insert and striker geometry, and confirm both primary and secondary door-latch engagement before driving.
Sun-Visor Retaining Clip
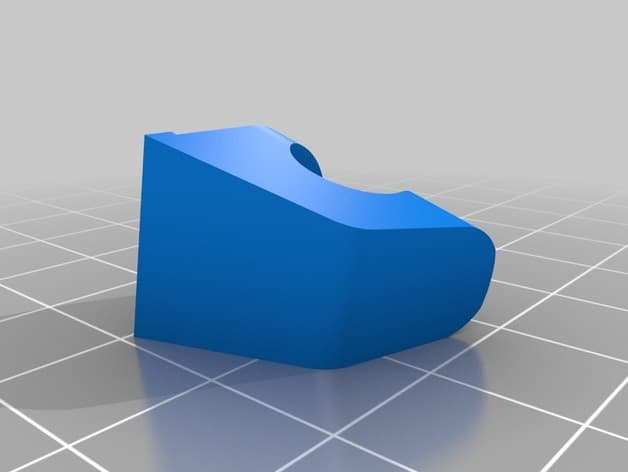
Two-piece retaining clip and screw cover for the cabin sun visor. The creator made it for a 1989 300E and explicitly states W123, W124, W126, W140 and W201 fitment, while noting that it does not carry electrical contacts for illuminated vanity mirrors. Print the main clip and locking cover in the documented orientations, use cabin-heat-resistant material, compare the screw position and visor profile, and confirm secure retention and free release before driving.
Boot-Lid Warning-Triangle Holder
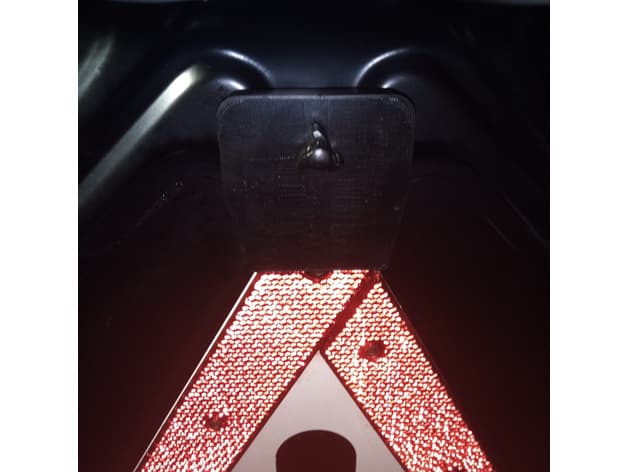
Two-piece holder and mounting bracket for storing a reflective warning triangle on the inside of the boot lid. The creator measured and photographed this custom installation on a 1979 300 SD that was built for the US market and therefore did not originally have the bracket; no other model year, body, market or factory-option fitment is inferred. The demonstrated installation uses four plastic rivets plus a roughly #10-24 by 1.5-inch screw, nut and wingnut. Compare the boot-lid pressing and triangle dimensions before printing, use automotive-interior heat-resistant material, keep hardware clear of wiring and the outer skin, and confirm the triangle is retained without obstructing the lid or latch.
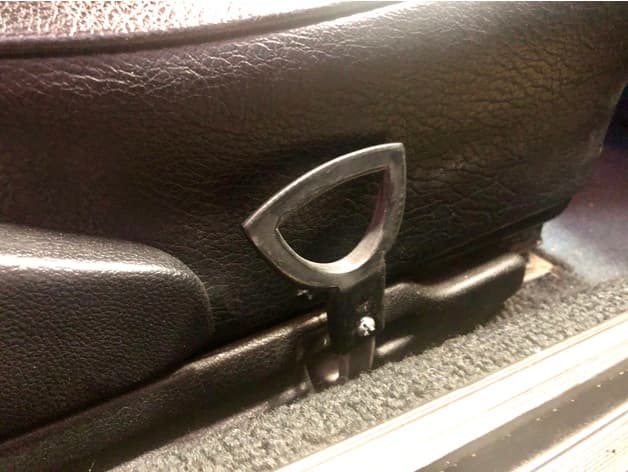
Seat-Adjustment Repair Handle
Bolt-on replacement handle for broken manual seat-adjustment levers. The creator explicitly designed and photographed it for both 116-series and 123-series cars, states that it can be used at all four handle positions, and notes that side height adjusters accept one screw while the front adjusters use two. The demonstrated part was printed in PETG, sanded and buffed, then fastened through the surviving metal lever with screws and nuts. Remove only the remains of the failed grip, preserve the original lever, deburr all holes, use secure low-profile hardware, and confirm full adjustment and locking travel before driving.
End of the racks · 21 entries